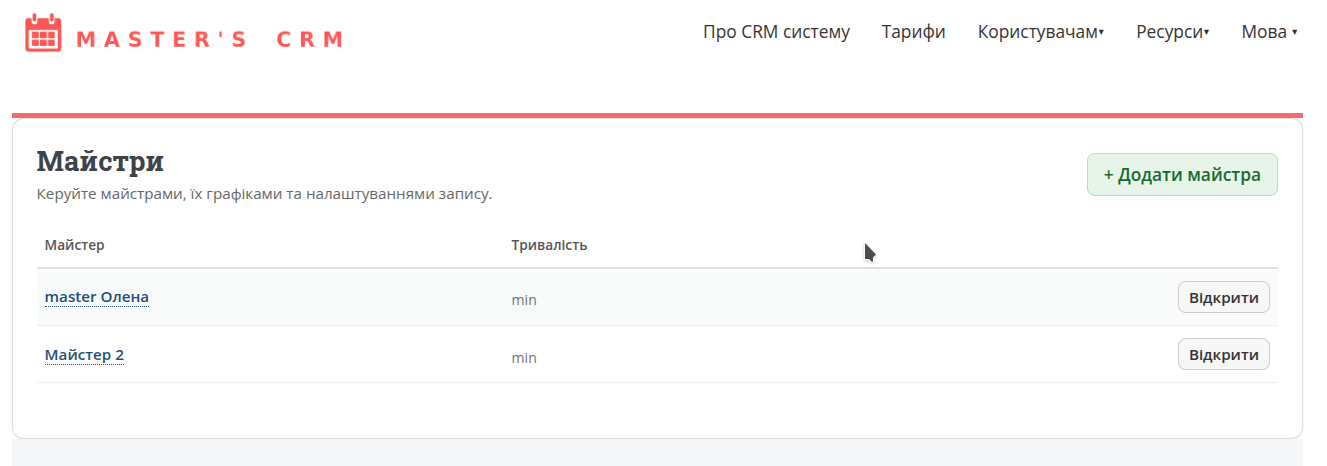
How to add a master
A master is the person a client books a service with.
Add yourself or an employee so the system can show available booking times.
Why you need a master
Every booking in the system is linked to a specific master. The calendar, schedule, and available time slots are built based on this. You can have one or multiple masters.
- each master can have their own schedule;
- services are assigned to masters;
- clients choose both the service and the person who provides it;
- you can track statistics separately for each master.
What you need to fill in
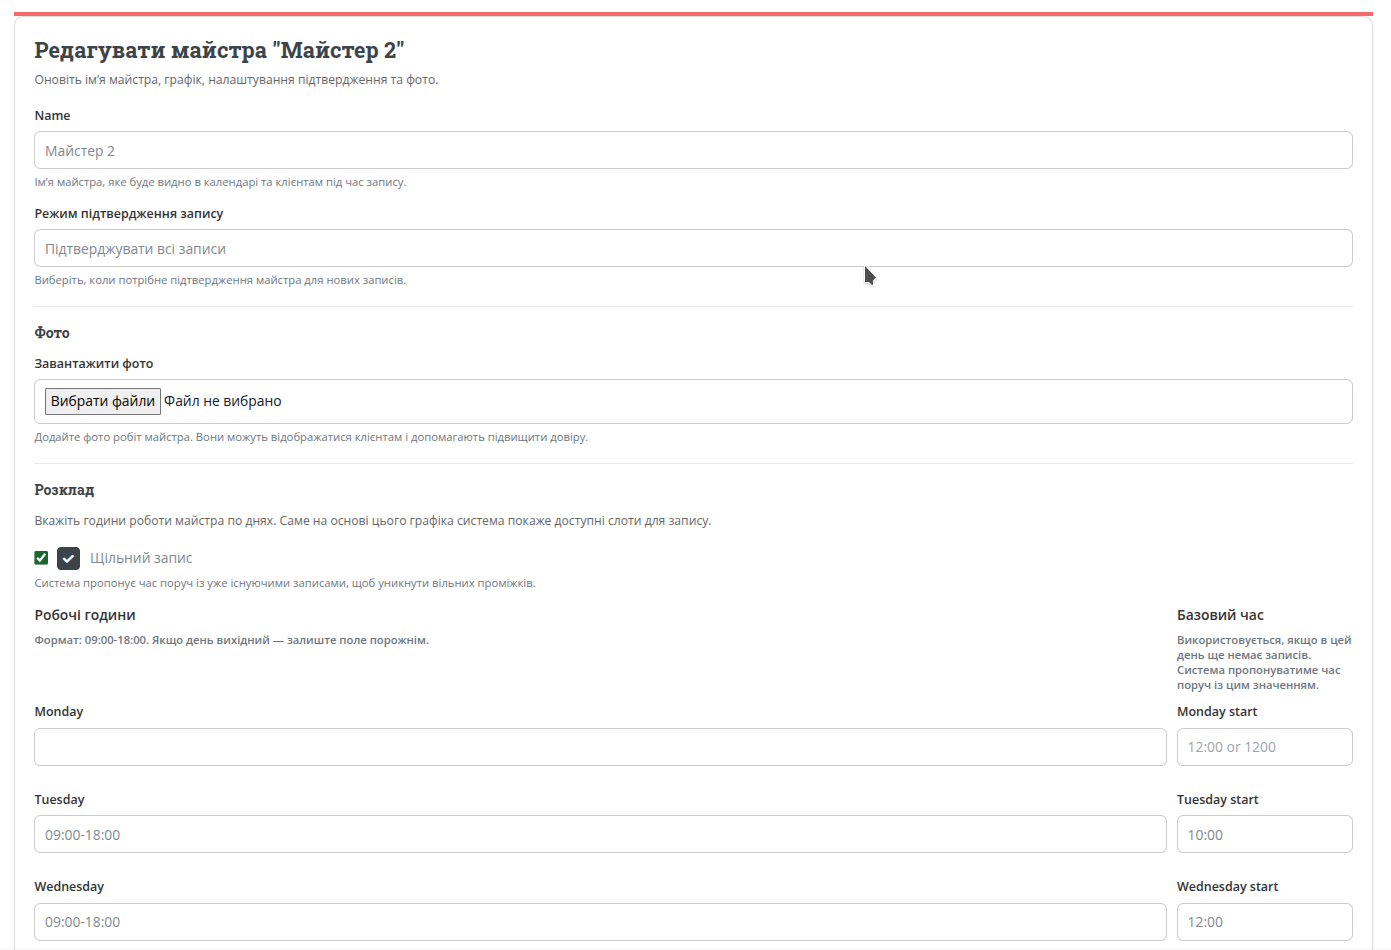
1. Master name
Enter the name as clients should see it. It can be a real name or a clear role title.
2. Working schedule
For each day of the week, you can set working hours in the format 09:00-18:00. The system uses this to generate available booking slots.
3. Confirmation mode
You can choose whether the master needs to confirm all bookings, only new clients, or only clients with a poor visit history.
By default, confirmation is not required.

4. Connect the Telegram assistant bot
This is much faster and more convenient than checking the website every time. You will receive notifications when someone books, check your schedule for today/tomorrow/yesterday, and mark completed or missed visits.
It’s optional, but highly recommended.

How the master schedule works
If the schedule is set, the system automatically shows clients only available time slots.
- a master can have multiple services, and the system accounts for this;
- use private services to block time for breaks or lunch;
- use private services for days off;
- connect the assistant bot to always have bookings at hand.
Useful tips
Connect the assistant bot
It significantly speeds up your workflow and gives you better control over your schedule and bookings.
Check how the master looks to clients
After saving, review how the master’s schedule appears on the public page, taking all settings into account.