How to add a booking manually
If a client contacts you directly or calls you, you can quickly add a booking yourself.
This booking will immediately appear in your calendar.
When this is useful
Manual booking is needed when a client does not book through your page but contacts you directly.
- client messages you in a messenger;
- client calls you;
- you agree on a time in person;
- you need to create a test or internal booking.
How to create a booking
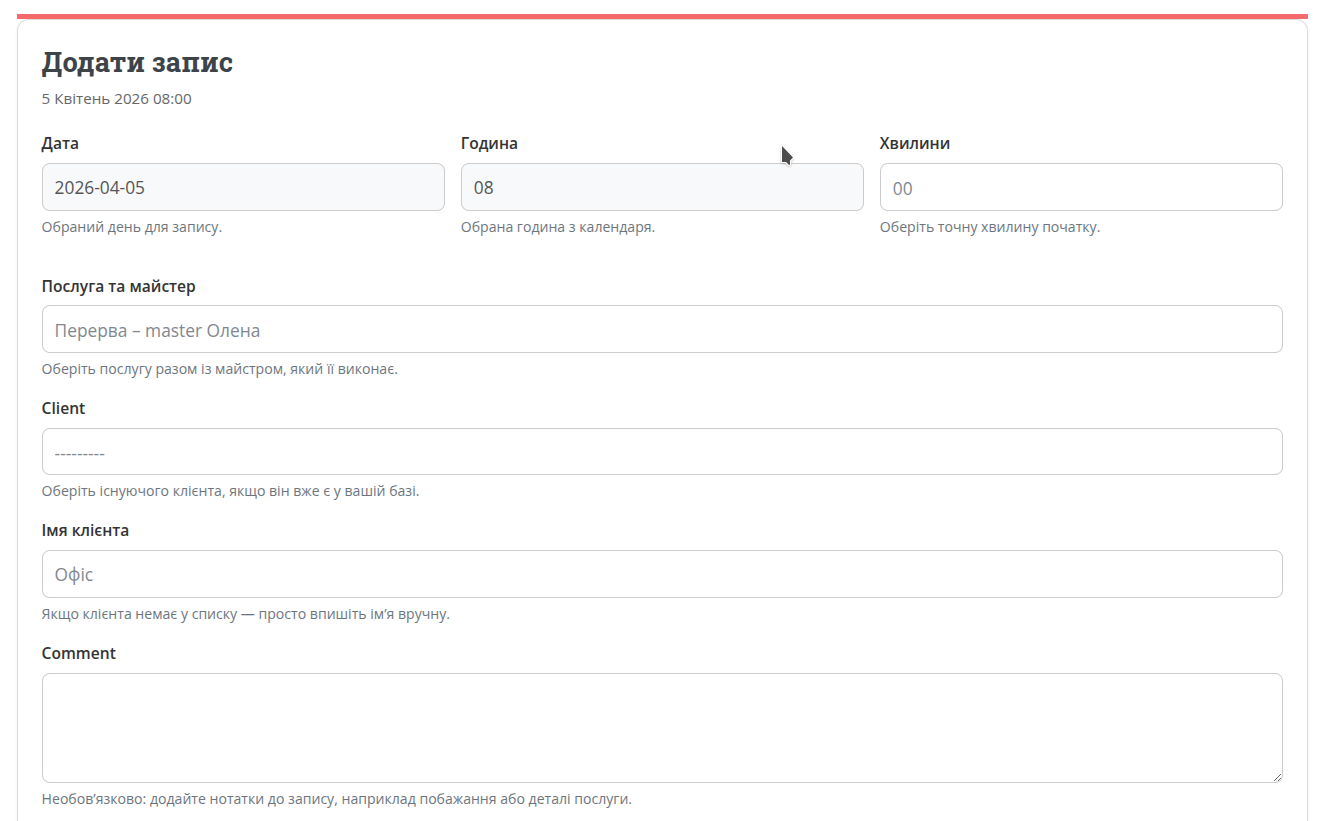
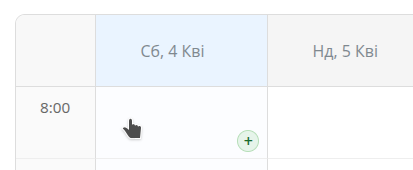
Step 1. Open the booking form
Go to the calendar and click on the time slot where you want to add the booking. This works in both weekly and daily views (daily view is even more convenient).
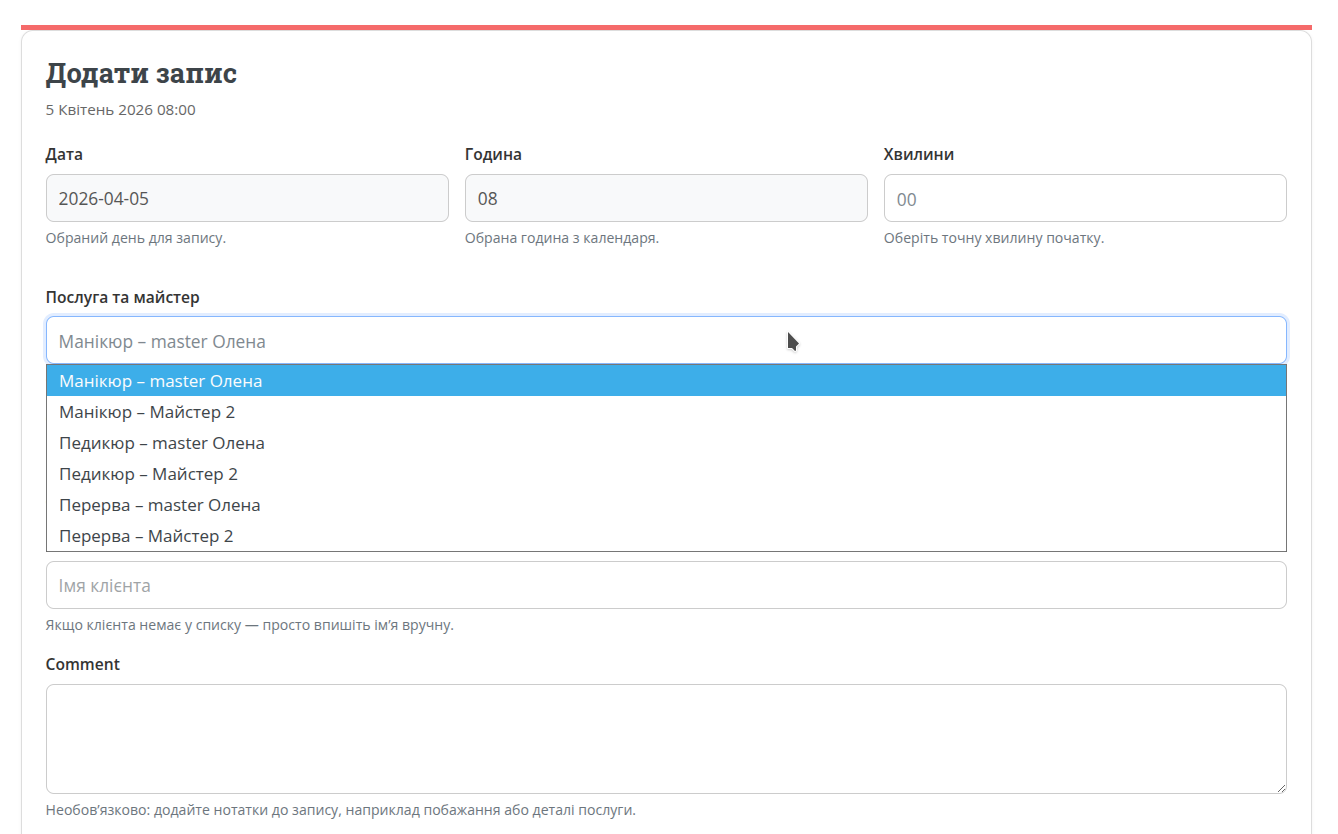
Step 2. Select service and master
In the form, choose a service + master pair. This tells the system who performs the service and how to display it in the calendar.
Step 3. Select or create a client
If the client already exists, select them from the list. Otherwise, you can enter a name and the system will create a temporary client.
Step 4. Add a comment
Optionally add a note: client preferences, time details, or internal comments. This is not required.
Step 5. Save the event
After saving, the booking appears immediately in the calendar. Reminders are not sent for manually created bookings
What happens after creation
When creating a booking, the system checks if the selected time slot is available and ensures there are no conflicts.
- the booking appears in the calendar;
- manually created bookings are shown in blue;
- the time slot becomes unavailable for online booking;
- the system logs the action for tracking changes.
If there is a conflict or error, the booking will not be saved until the issue is resolved.
Useful tips
Add bookings immediately
Don’t delay adding manual bookings to avoid losing clients or creating scheduling conflicts.
Use comments
A short note helps you remember booking details, even if the client contacted you by phone.
What’s next
After learning manual booking, the next step is to understand how fully automated client booking works via your public page.